My rfidiary kit index
My RFIDiary
JeongHyun Lee
North Carolina State University
 Instruction Set: Creating your own RFIDiary
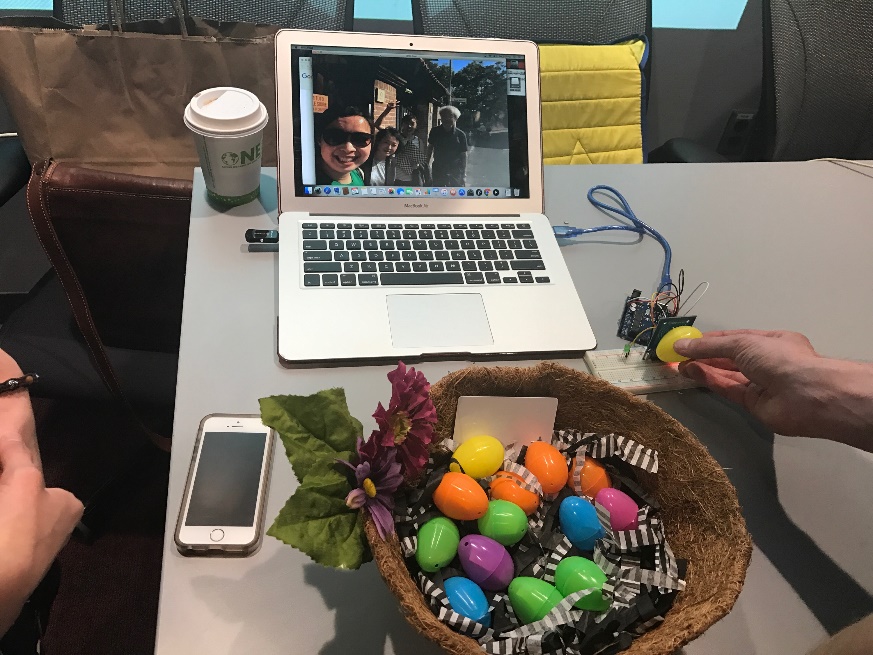
The Radio Frequency Identification (RFID) system is an object-identification system that exchanges radio waves without direct contact between the reader and a chip. The small chip can be tagged onto any object, enabling the object to be readable by machines. The Arduino RFID-RC522 module is composed of a read-only RFID reader and RFID tags. Unlike the commercial purpose of RFID, this reader only detects high frequency tags at 13.5MHz in close range of contact. This instruction set shows how to use the RFID-RC522 module to build your own RFIDiary.
List of Things You Need:
- 1 * Arduino Uno R3
- 1 * USB Cable
- 1 * RFID Module (RFID-RC522 Reader)
- RFID tags
- 1 * 830 Breadboard
- 7 * Jumper Wire
OR
- 1 * Arduino Uno R3
- 1 * USB Cable
- 1 * RFID Module (RFID-RC522 Reader)
- RFID tags
- 7 * F-M Dupont Wire
Programs You Need:
- Arduino IDE
- Processing IDE
- Code sketches from this kit's Code Repository
Instructions
STEP 1. Prepare Your Digital Traces
- Navigate digital me: search yourself online through your name, email address, and/or any other information about you.
- Copy down links you want to embed in your RFIDiary into a temporary text file and/or save digital images (jpg/png/mov) in the same folder.
STEP 2. Check Your RFID Tags' Identification Numbers
- Connect “RFID-RC522” with “Arduino Uno R3”
- Insert USB Cable into computer and Arduino Uno.
- Upload supplied Arduino code sketch onto Arduino.
- Put “Serial Monitor” at the upper right corner. Contact each RFID tag to the reader, and you can see each tag’s serial number. Write them down.
| RFID-RC522 | Arduino Uno |
|---|---|
| SDA | 10 |
| SCK | 13 |
| MOSI | 11 |
| MISO | 12 |
| IRQ | N/A |
| GND | GND |
| RST | 9 |
| 3.3V | 3.3V |
STEP 3. Build Your RFID Module
- Open Processing and upload Processing code sketch.
- Move the folder you created with your digital memories (STEP 1-2) to the “data” folder juxtaposed with your Processing file.
- Adjust the tags and digital memory information in the supplied Processing code sketch to your own data. If each tag opens a different memory you tagged when you play the “run” button, you are all set.
- Make your own RFIDiary by putting your tags onto (or inside) objects.
- Play “run” button in Processing. Enjoy your memories in RFIDiary.